


Montage steps
The assembly instructions for a staircase may vary depending on its type and shape.
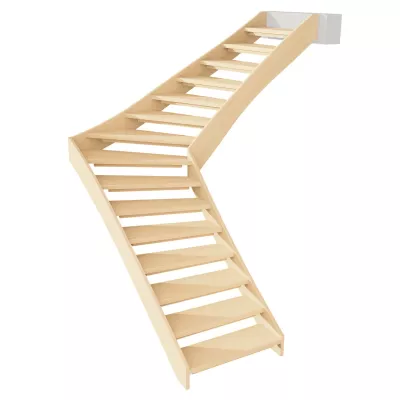
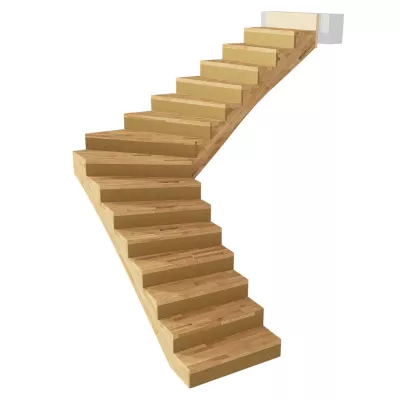
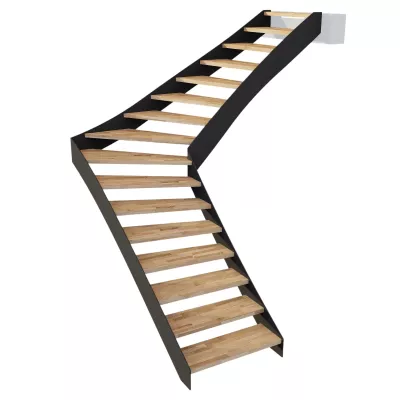
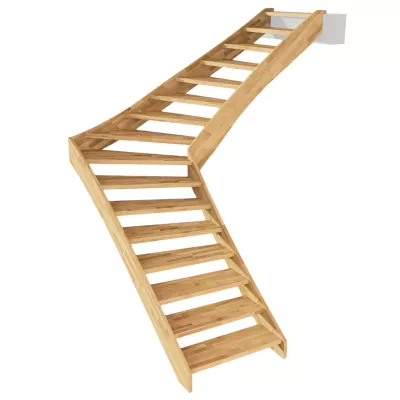
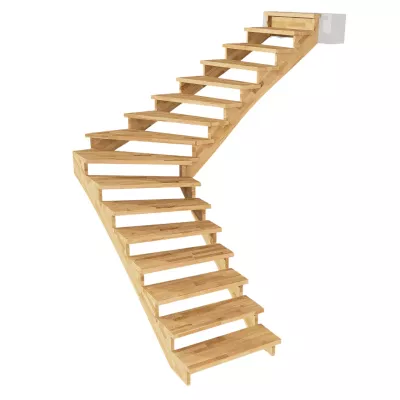
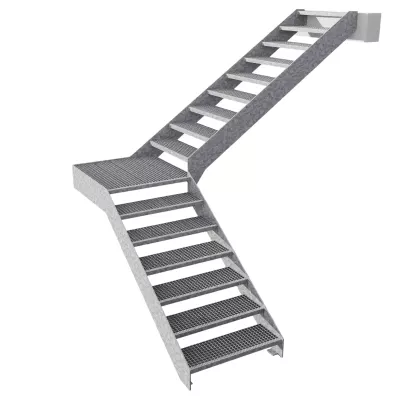
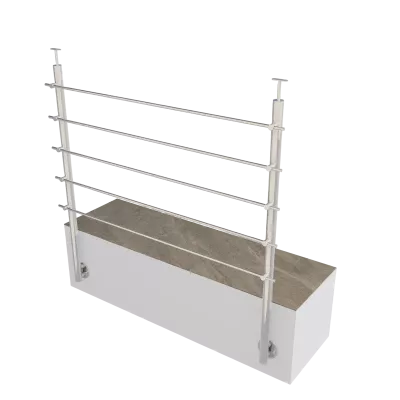
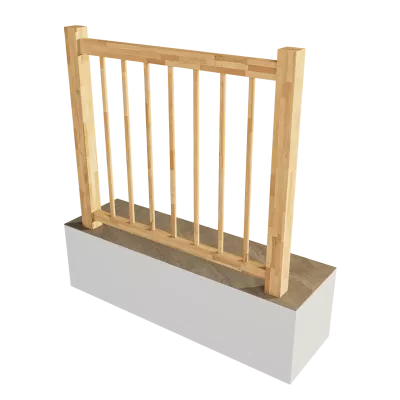
Installation Manual
Saddle-type Staircase
Straight and landing
To make installing your staircase even easier and safer, we’ve prepared a clear step-by-step video alongside the detailed installation manual. It will guide you through the entire process and provide practical tips to ensure a smooth and hassle-free installation. Watch the video and assemble your staircase professionally, quickly, and with confidence.
We wish you a successful installation!
1. Preparation for Installation
Before starting the installation, take a close look at the floor plan of the stairs and check the ceiling opening and all specified dimensions against the plan. Pay particular attention to the wall structure, ceiling structure, and the space at the upper stair exit.
Subsequently, check the completeness of the delivered stair parts, unpack all parts, check them, and get an overview of their arrangement in the stairwell. The same applies to fittings and the supplied installation material.
Now lay out the required tools and all aids. Read through the entire assembly instructions carefully so that you fully understand the sequence before starting the installation.
Recommendation for Installation:
The installation should be carried out by at least two people, preferably three or four.
Recommendation for screws: Before inserting a screw into a pre-drilled hole, always apply a small amount of neutral silicone (2 pea-sized beads) into the hole. The silicone facilitates the screwing process and eliminates the risk of screw breakage due to overtightening.
2. Installation of the Outer Stair String
Begin the installation by fastening the outer stair string to the wall. The drill holes are not prefabricated; they must be planned and drilled manually so that they do not collide with installations, niches, or wall openings.
Always try to place one fastening point as close as possible to the stair start — ideally approx. 6 cm below the center of the first tread —, another as close as possible to the exit — usually below the last (or second to last) tread and at a height that avoids hitting the insulation layer in the ceiling. Space the remaining fastening points approx. every two risers between the start and exit — again ideally approx. 6 cm below the center of the respective tread. If suitable and possible, fasten in the locations of existing holes under the treads (primarily made for fastening treads to the stair string) — this reduces the number of cover caps.
If the staircase includes a landing, place at least two fastening points under the landing.
If the walls in the stairwell are built using a grid construction method (e.g., with studs or reinforcements behind plasterboard or OSB panels), the fastening points must be adjusted and placed exactly in the middle of the reinforcements; do not save on their number. It is recommended to place two screws one above the other.
3. Aligning and Fastening the Outer Stair String
Place the outer stair string against the wall, align it towards the stair exit, support the string, and level it. The upper edge (sawtooth cutout) of the vertical block on the stair string must sit lower (by the thickness of a tread) than the final floor height on the upper floor. Check the flatness of the exit edge with a spirit level and level if necessary. Pay attention to floor unevenness — even with poured floors! If the final floor height has not yet been determined, use suitable shims to set the stair string to the correct height. Lightly secure the stair string — fasten it at all points without tightening too firmly.
3.1 Attention: The stair string must not adapt to wall unevenness or become wavy. Use suitable shims to level out unevenness.
Important note: The delivered staircase is precisely rectangular in floor plan — therefore, in case of a deviation from a right angle at the exit, the stair string (and the mounting plate) must be shimmed accordingly so that they form an exact right angle after fastening; otherwise, correct installation of treads, landings, and inner stair strings will not be possible.
3.2 Now screw threaded rods into the two lateral holes of the vertical block on the outer stair string. A drive-in nut is located at the end of the hole. Glue a dowel into the vertical block from above.
4. Installation of the Inner Stair String
Prepare the inner stair string — glue dowels for the exit post into the two front holes, apply adhesive to the front face, mount the exit post, and screw it to the stair string using two 6×100 screws. Now screw threaded rods into the two lateral holes of the exit post.
Next, place the exit tread onto the mortise of the exit post — using the cutout over the mortise — and secure it from behind the post with a shorter screw.
Subsequently, place the entire assembly of the inner exit stair string, post, and exit tread (similar to the outer string previously) against the exit edge, support it, and level it. Engage the post overhang (tooth) on the inner side onto the exit edge of the stair opening. The distance between the two stair strings is set by the mounting plate and the exit tread, which is fitted onto the dowel of the vertical block on the outer stair string. Secure the joint with adhesive.
Apply neutral silicone to the stair string and post at the contact surface with the mounting plate. Subsequently, slide the mounting plate onto the threaded rods and press it against the exit.
Fit collar nuts onto the ends of all 4 threaded rods in the holes and screw the assembly firmly together, paying attention to alignment.
5. Fastening the Mounting Plate
Now plan and drill 2 to 4 holes in the mounting plate for attachment to the exit, and fasten the plate.
Pay close attention to the strength and location of fastening points relative to insulation, electrical cables, water, or heating lines!
At this stage, the outer stair string is fastened to the wall, the mounting plate and exit tread are secured, and the inner stair string with post is attached to it on the inner side.
6. Aligning the Start of the Inner Stair String
For better verification of the distance between the stair strings, it is recommended to place one tread dry on the dowels in the first third of the staircase, another in two-thirds, as well as tread No. 2. Check the levels with a spirit level. If everything is in order, firmly fasten the start of the inner stair string under the first tread to the floor — using a floor anchor. Holes under the 1st tread are pre-drilled for this anchor. Pay attention to any existing underfloor heating!
Further attention — the anchor shares the lateral hole in the stair string with the future threaded rod for fastening the 1st tread; sufficient space must remain!
7. Installation of Tread No. 1
Apply neutral silicone evenly over the entire surface of the horizontal seats on both stair strings for tread No. 1.
Apply construction adhesive into the dowel holes in both the stair strings and the tread, and tap dowels into the stair string.
From below the tread, screw threaded rods into the insert nuts. Subsequently, place the tread onto the dowels in the stair strings and tap it home with a mallet.
From the side of the stair strings, inside the hole below the tread, screw collar nuts onto the threaded rods and tighten them.
8. Installation of the Treads from the Stair Start
Next, mount the treads step by step moving upwards from the stair start:
Apply neutral silicone evenly over the entire surface of the horizontal seats on both stair strings for tread No. 2.
Apply construction adhesive into the dowel holes in both the stair strings and the tread, and tap dowels into the stair string.
Subsequently, place the tread onto the dowels in the stair strings and tap it home completely with a mallet.
From the side of the stair strings, inside the hole under the tread, secure the tread to the stair string with an angled 6×60 screw.
Proceed in the same manner up to and including the second-to-last tread.
8.1 From an installation perspective, the landing is handled like a tread; due to its greater width, it is secured with angled screws in multiple locations.
9. Final Inspection and Tightening
Now firmly tighten all fastening points in the stair strings and mounting plate. Check the geometry.
10. Installation of Balustrade Posts
Next, mount the balustrade posts. The exit post is already incorporated at the exit. For any intermediate post, first mount a threaded rod into the insert nut of the tread, place the post over it, insert a collar nut into the lateral hole of the post, and tighten it. Attention: The post must be oriented correctly so that the pre-drilled screw holes match the heights and directions of the connected sub-handrails and handrails. Place the start post with its mortise onto the routed front edge of the first (or second) tread and screw it with two screws into the edge of the stair string (through the riser). Apply neutral silicone into the mortise and onto the contact surface with the riser beforehand!
11. Installation of Sub-handrails
Continue the balustrade installation by installing the sub-handrail, or sub-handrails if an intermediate post is present. Position the sub-handrail along the axes of the posts at the specified height and screw it at both ends through the posts.
12. Installation of Balusters and Handrails
Now apply neutral silicone into all holes for the balustrade balusters (in both sub-handrails and handrails). A proven method is applying a bead along the entire length of the longest side wall of the hole. Then insert the balusters into the sub-handrail(s) according to the layout plan. Subsequently, place the handrail(s) onto the balusters, tap into place, and screw through the posts.
13. Cleaning and Capping
Sweep and clean the staircase, and cover all holes with appropriately sized cover caps. Cover caps are fitted over the hole at the rubber seal location and pressed in by hand.
14. Completion of Installation and Curing Time
This completes the entire installation of the staircase. All glued and silicone-sealed connections require approx. 24 hours at normal room temperature to cure completely. During this time, the staircase should not be subjected to loads.