


Montage steps
The assembly instructions for a staircase may vary depending on its type and shape.
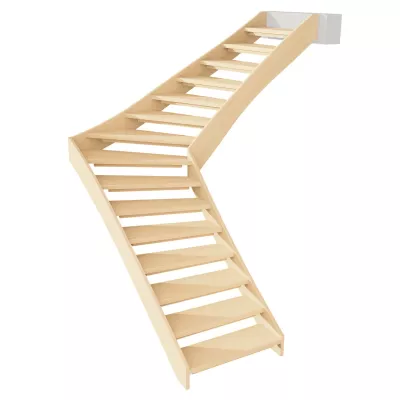
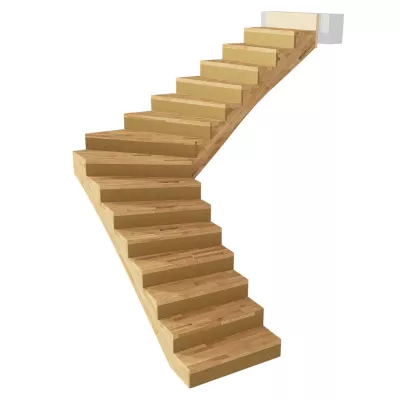
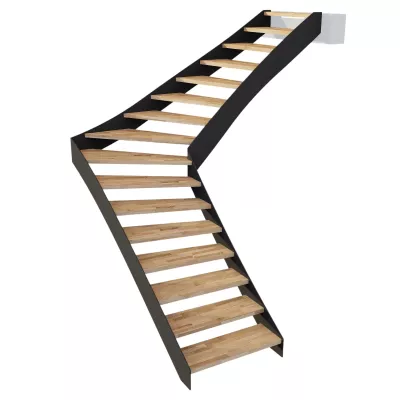
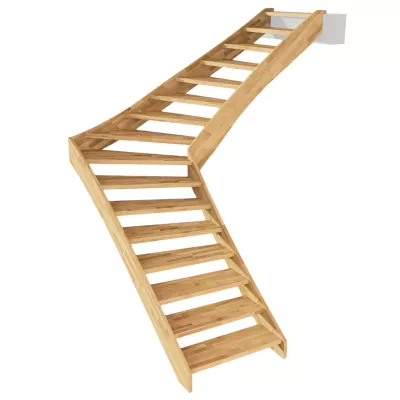
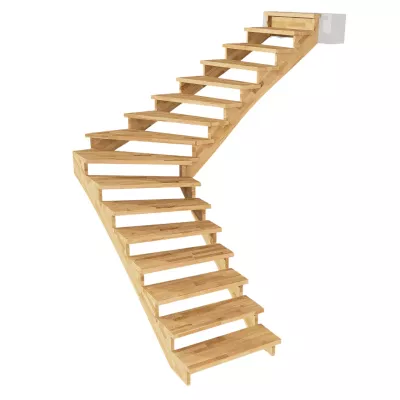
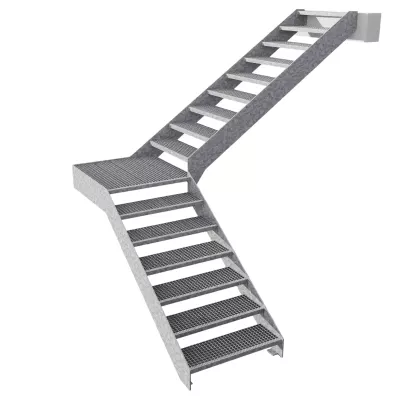
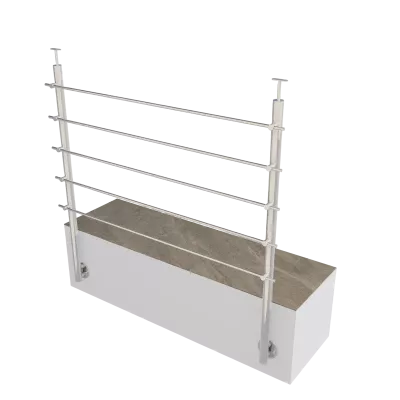
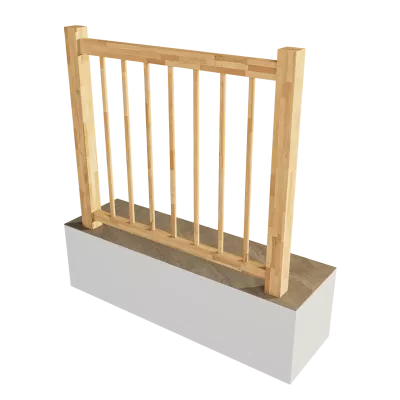
Installation Manual
Temporary Construction Staircase
2x1/4, 1x1/2 and with landing
To make installing your staircase even easier and safer, we’ve prepared a clear step-by-step video alongside the detailed installation manual. It will guide you through the entire process and provide practical tips to ensure a smooth and hassle-free installation. Watch the video and assemble your staircase professionally, quickly, and with confidence.
We wish you a successful installation!
1. Before starting the installation, we study the floor plan of the stairs thoroughly and check the ceiling opening as well as the dimensions based on the plan. We pay special attention to the wall and ceiling structure, as well as the position of the stair exit. Subsequently, we check the completeness of the stair parts. We unpack them, inspect them for defects, and familiarize ourselves with their location in the stairwell. The same procedure applies to the fittings and all necessary auxiliary materials for the installation. Furthermore, we prepare the required assembly tools and all necessary aids. Finally, we read through the entire assembly process thoroughly to gain a comprehensive theoretical understanding of the process.
2. The temporary construction staircase consists of several components: a specific number of steps, an inner string (with the later balustrade), and an outer string (towards the wall). Additionally, there are accessories such as beams for support, for spacing, and for the construction of the balustrade. The supplied stiffening battens serve to reinforce the treads.
3. Installation is carried out by inserting the bolts from the side of the tread into the routing of the string and fastening them with two screws. These screws run through the string at the location of the routing and engage into the face side of the tread. The underside of the tread is equipped with mounted stiffening battens for reinforcement. The front edge and the top side of the tread are marked on the side with the letter "L", whose legs point towards the front edge and top side.
4. It is recommended to place the first outer string onto the trestles with the routings/mortises facing upwards and to mount all treads of the start flight. Subsequently, this part is placed on the floor, the first inner string is positioned next to it with the routings facing downwards, and it is placed step-by-step onto the bolts of the treads. Finally, everything is tightened with a pair of screws.
4.1 The same process is repeated with the second outer string and the second inner string for the middle flight.
4.2 The same process is repeated with the third outer string and the third inner string for the exit flight.
5. In the next step, the individual flights are positioned so that the corner steps of one flight fit into the routings of the adjacent flight. Subsequently, the screws are driven in. After that, we also screw the corner connections of the adjacent strings together.
6. After the flights are assembled, the entire staircase is placed into the construction opening, temporarily supported, and pushed up to the exit. We check the levelness and geometry and support the staircase under the exit, in the corners, and, if necessary, at additional points using the supplied beams. Subsequently, we secure and wedge the start of the stairs against the walls so that the staircase does not move during use. We use beams for this purpose as well. We likewise fix the stair exit and the corners of the staircase. Alternatively, the beams can be fastened to the floor or the exit edge using large brackets, for example; however, these are not included in the scope of delivery.
7. Now the installation of the stiffening battens onto the treads takes place. Each batten is fastened with two screws, with the axis of the reinforcement chosen at a distance of approximately 6 cm from the front edge of the tread. Note: The staircase is safe even without reinforcement. However, the additional reinforcement increases safety during dynamic loads, such as those that can occur when moving very heavy loads.